Guide to remove an unwanted page in framer.
The Right Way to Remove a Page From Framer
Being tidy and organized your workspace is crucial when comes to design or develop a website for your business needs or client works.
The necessary pages might destroy the content connection and consistency even the overall performance of your stunning website. Eliminating those pages by simply placing into trash folder may enhance your workflow as well as the content quality.
Let's dive into the complete guide of how to remove a page in framer and align your pages in a well organized format.
How to remove a page in framer
Navigate to framer.com > Log In > Choose your project
All the option to manage your page content is allocated right and left corners of your screen. Forget about the right corner and be only focused on the left navigational bar.

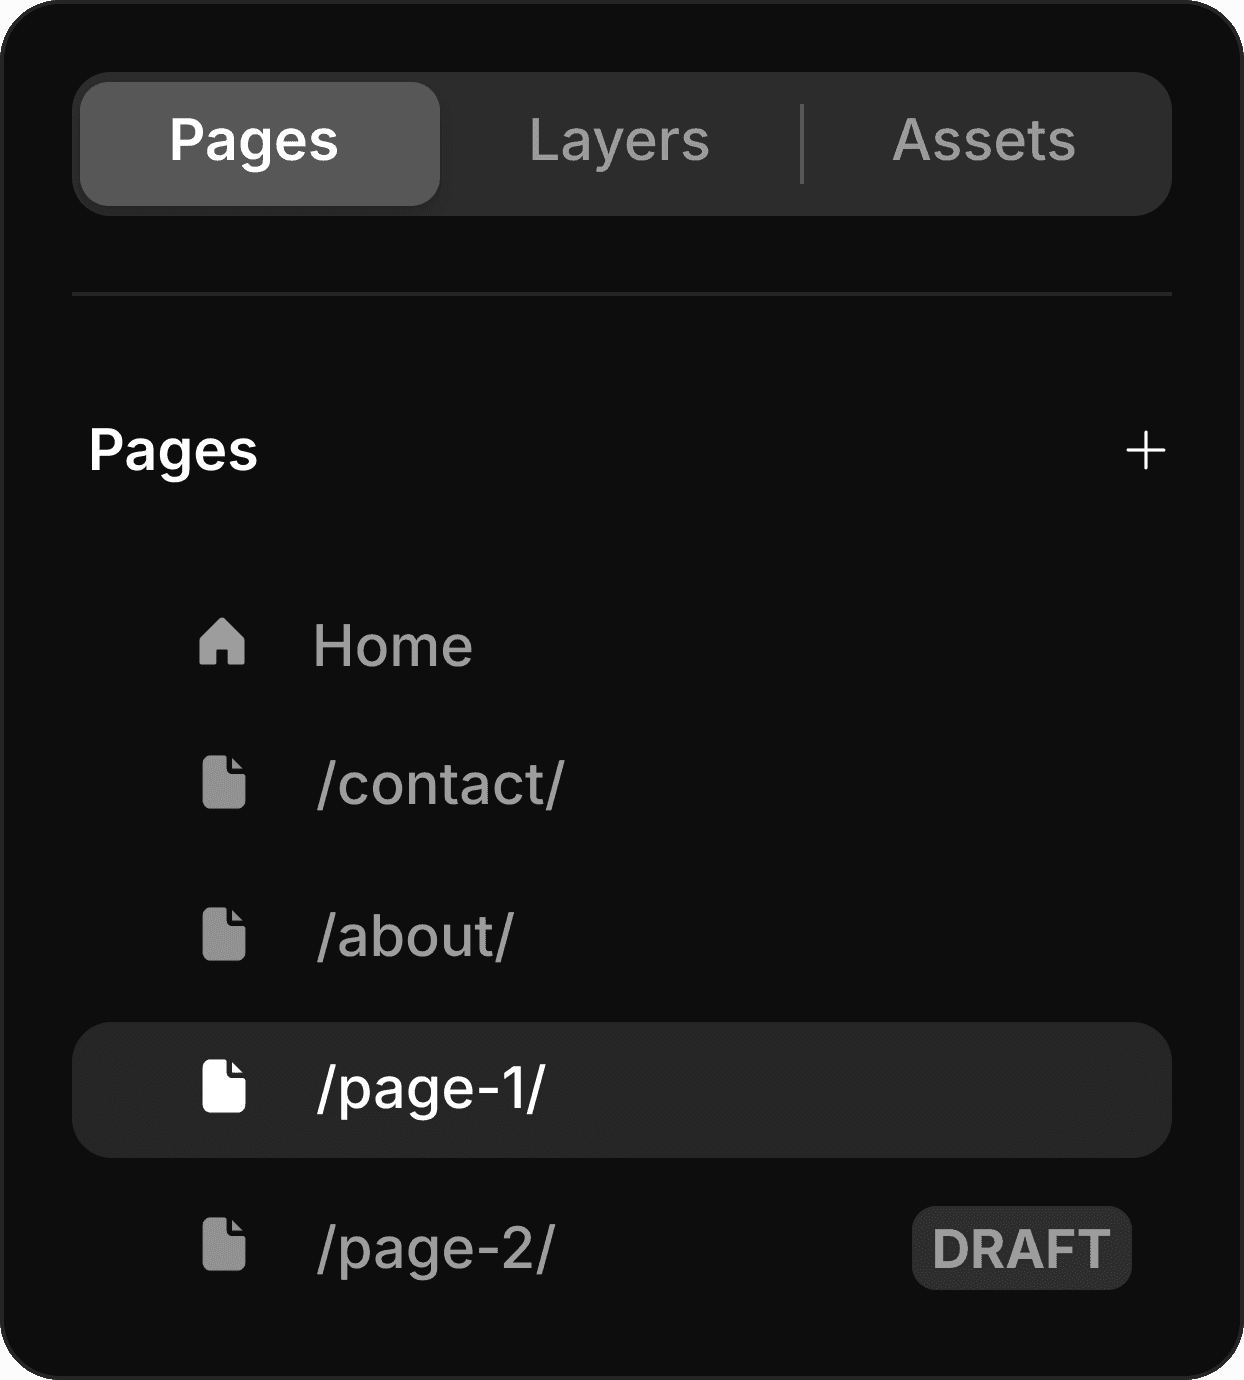
In the left side bar, you can see three options. Pages | Layers | Assets. Tap on the pages button to preview all the existing pages including the draft. Draft pages will be specifically highlighted.

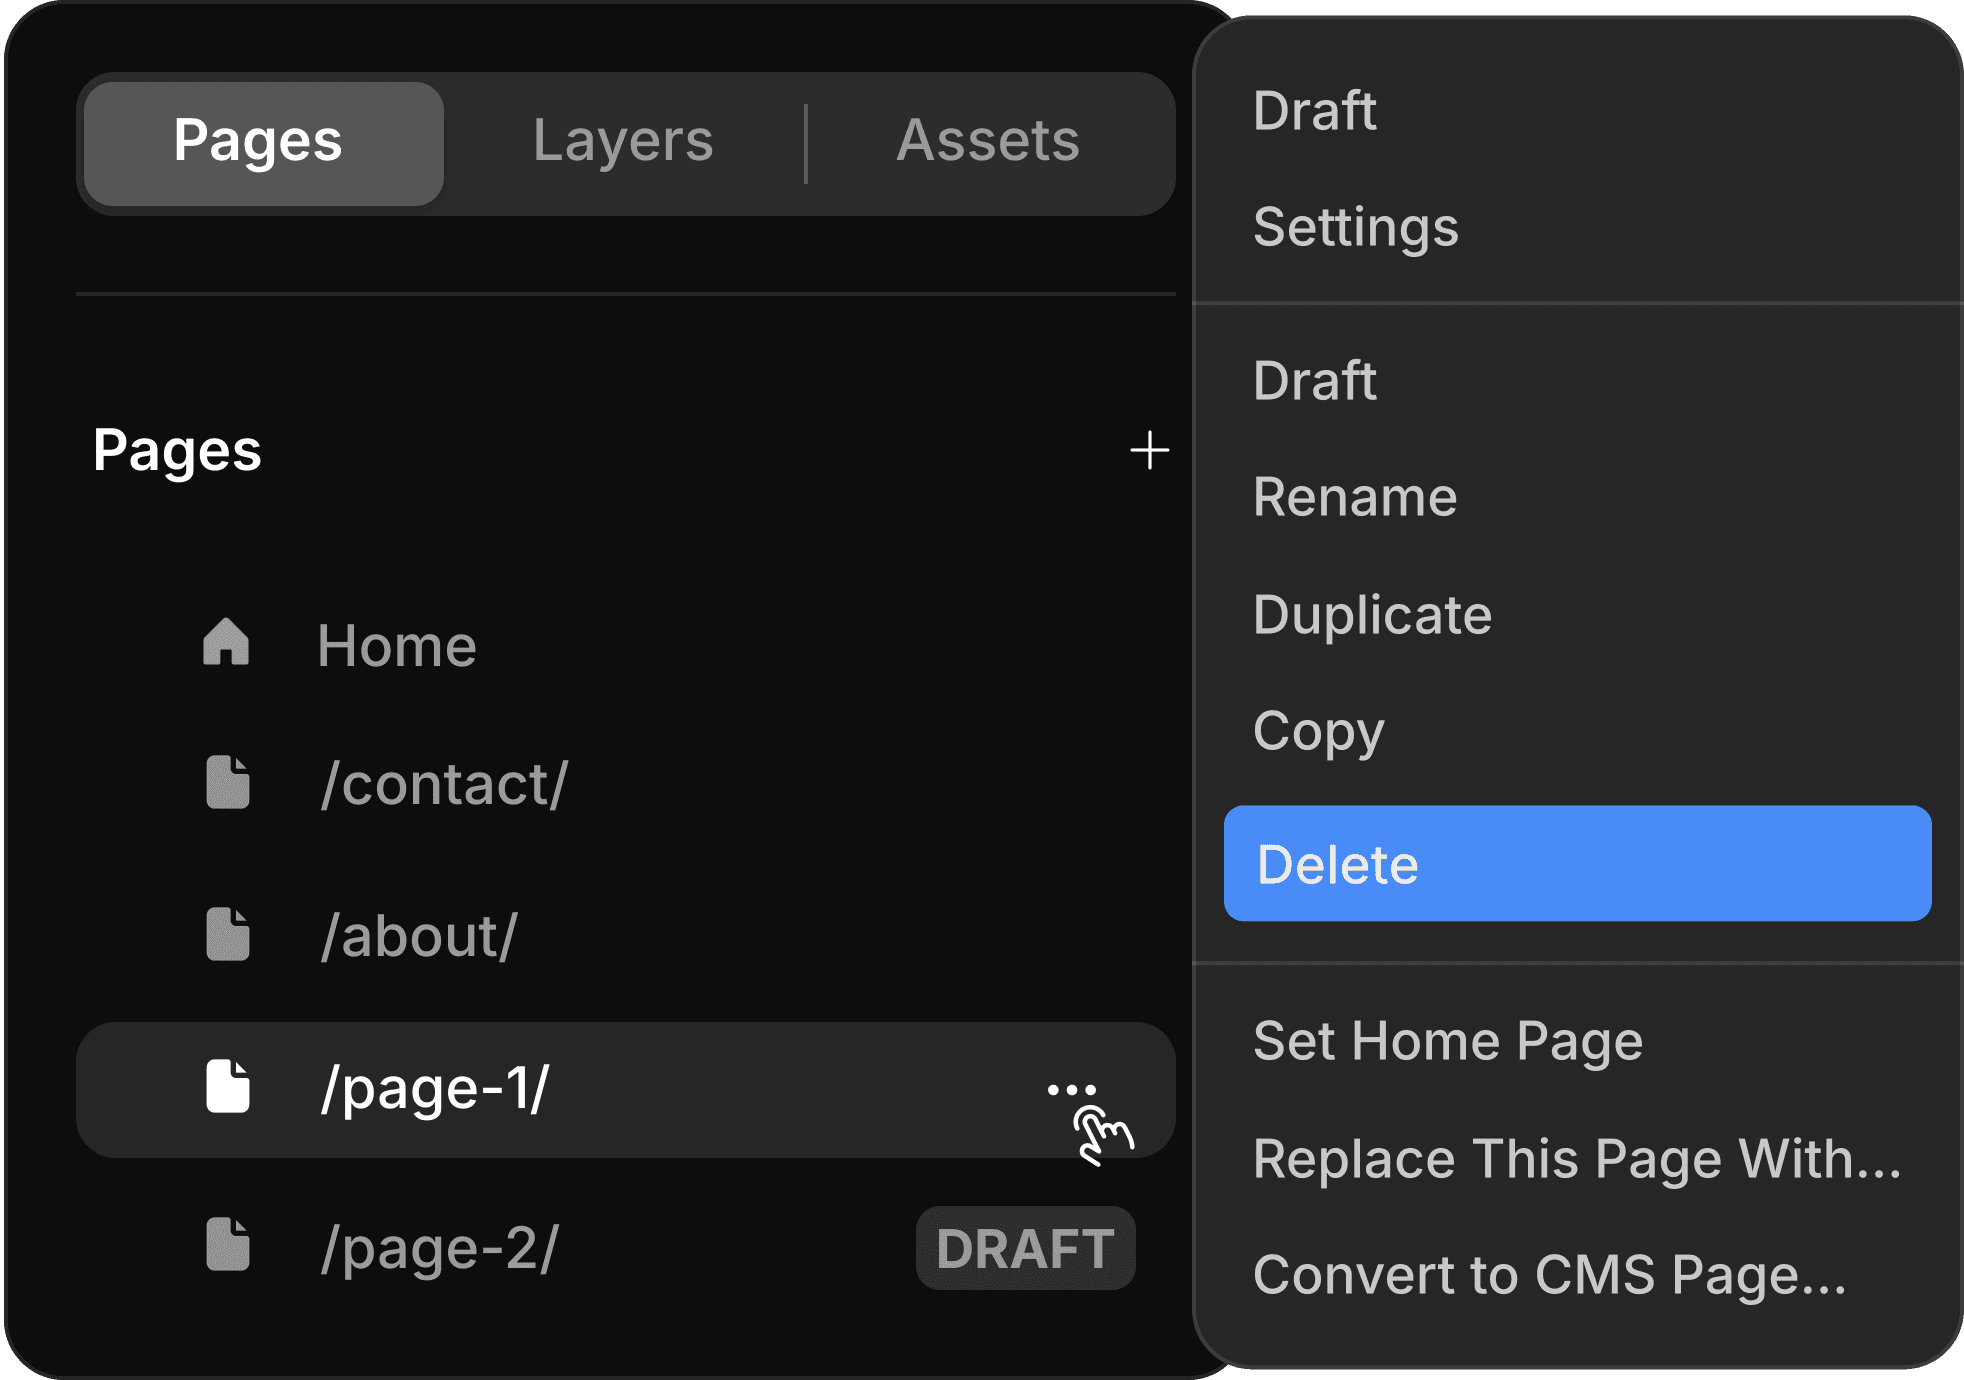
After you click the pages button, choose the page you want remove. Then you can see the preview of the page content in the free canvas (middle of the screen) and click on the 3 dots to appear the page management options.

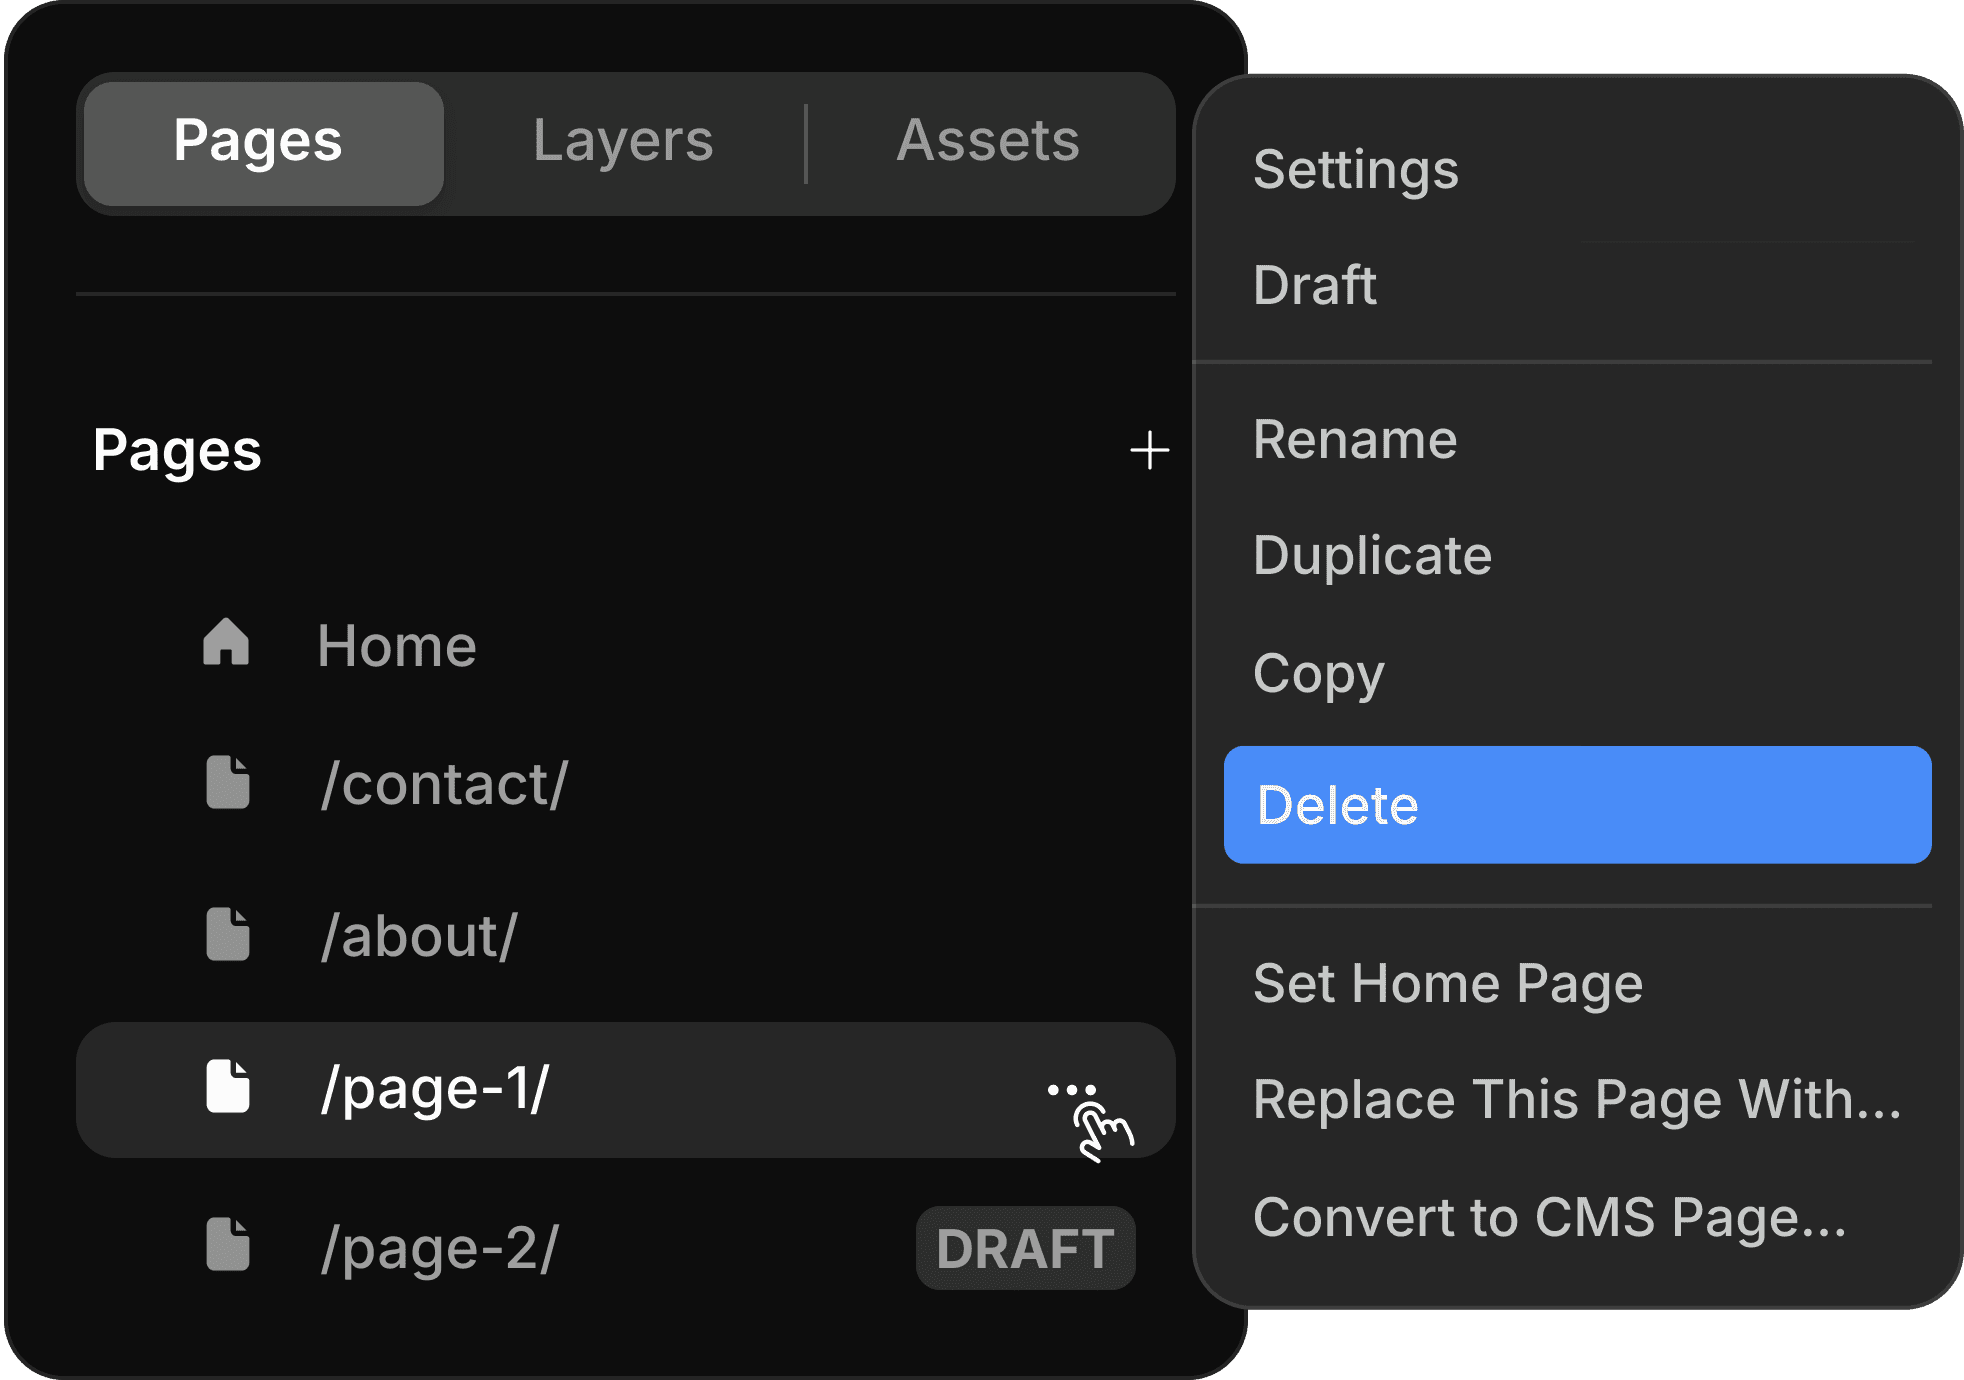
Here you can simply choose the DELETE option to remove the page.
The page will be removed instantly, if the page does not contains any content on it. Similarly, a dialogue box will appear if you have already feed any content to the page.
How to put your page into draft folder
Instead of removing a page, you might think about editing the page later. Well, framer recently brings you an alternative option to keeping your unwanted pages in the draft folder even after you published the page once before.
To put your page in draft folder,
Take all the same steps mentioned above

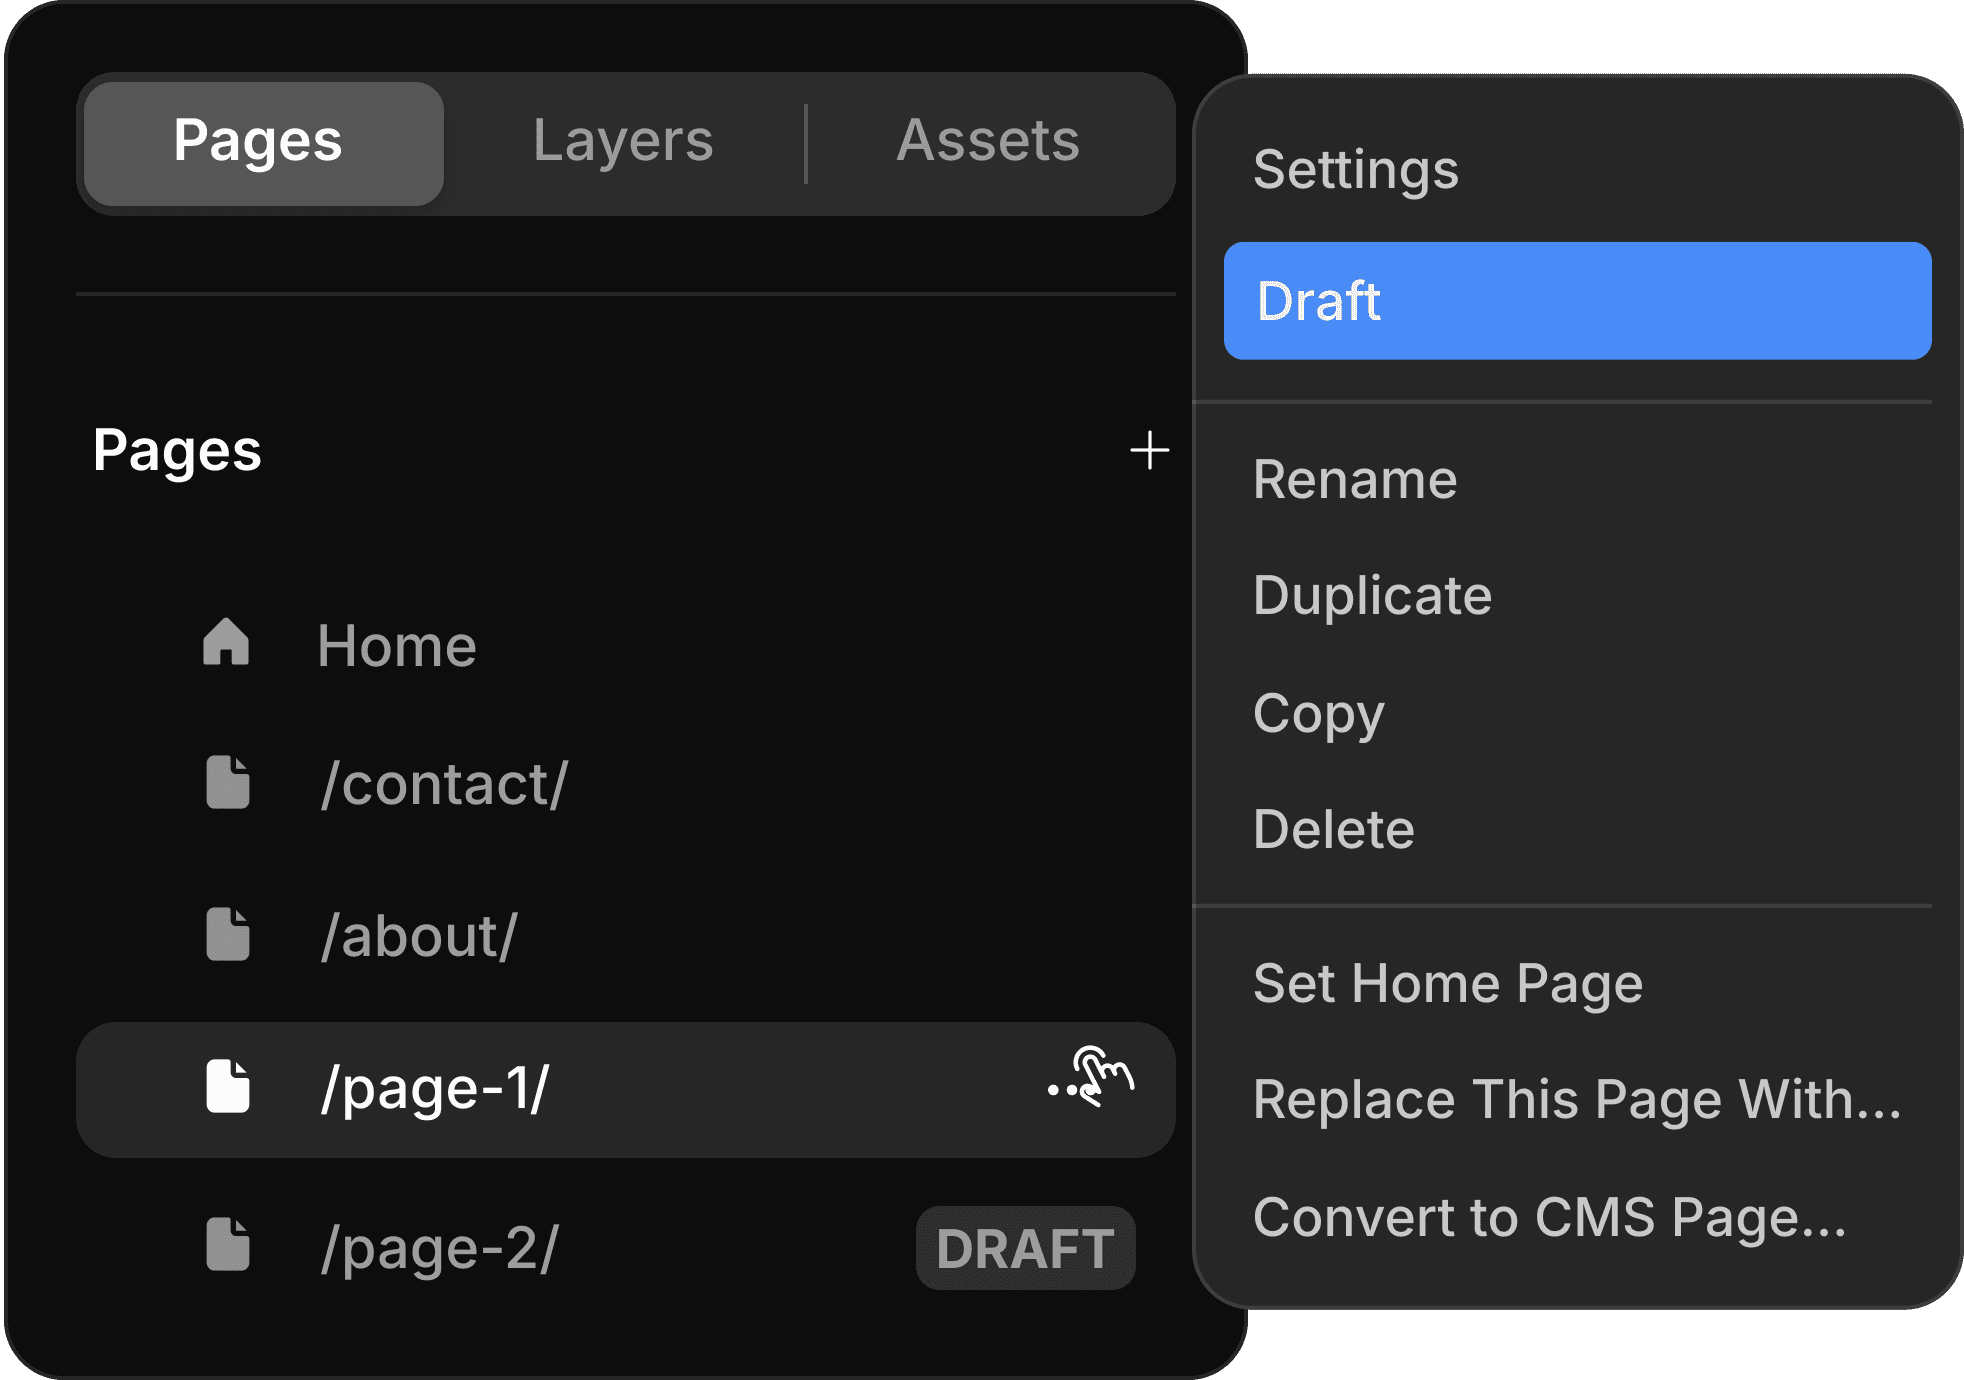
instead of clicking on the DELETE button, you can click on the DRAFT option.
This action not only applicable for your framer custom pages, but you can also deploy for your CMS collections.
Hope, this content is informative and check out more helpful contents on framer community.
Author
A. Rishad
Share
Here is more just like that

Review of Legendary Marketer: From a 6 Years of Loyal User
Aug 6, 2024
Exposing a best community to get started a business with integrity.

A. Rishad

Review of Bluehost: Better Web Host for Improved Performance
Jul 30, 2024
Load your website much faster.

A. Rishad

Froggy Ads Review: A Real User Experience
Jun 1, 2024
Don't be scammed with the fake media buyers.

A. Rishad

